

How to Add a Flight
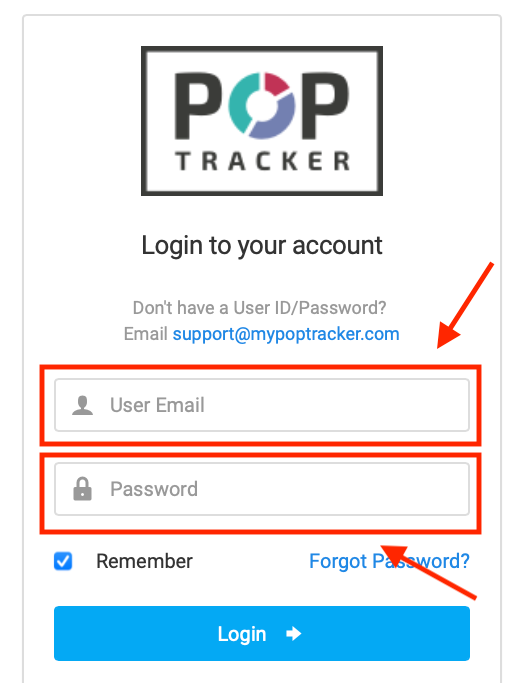
1) Login to POP Tracker using your personalized credentials.
2) Select the client and campaign you wish to Add a Flight to.

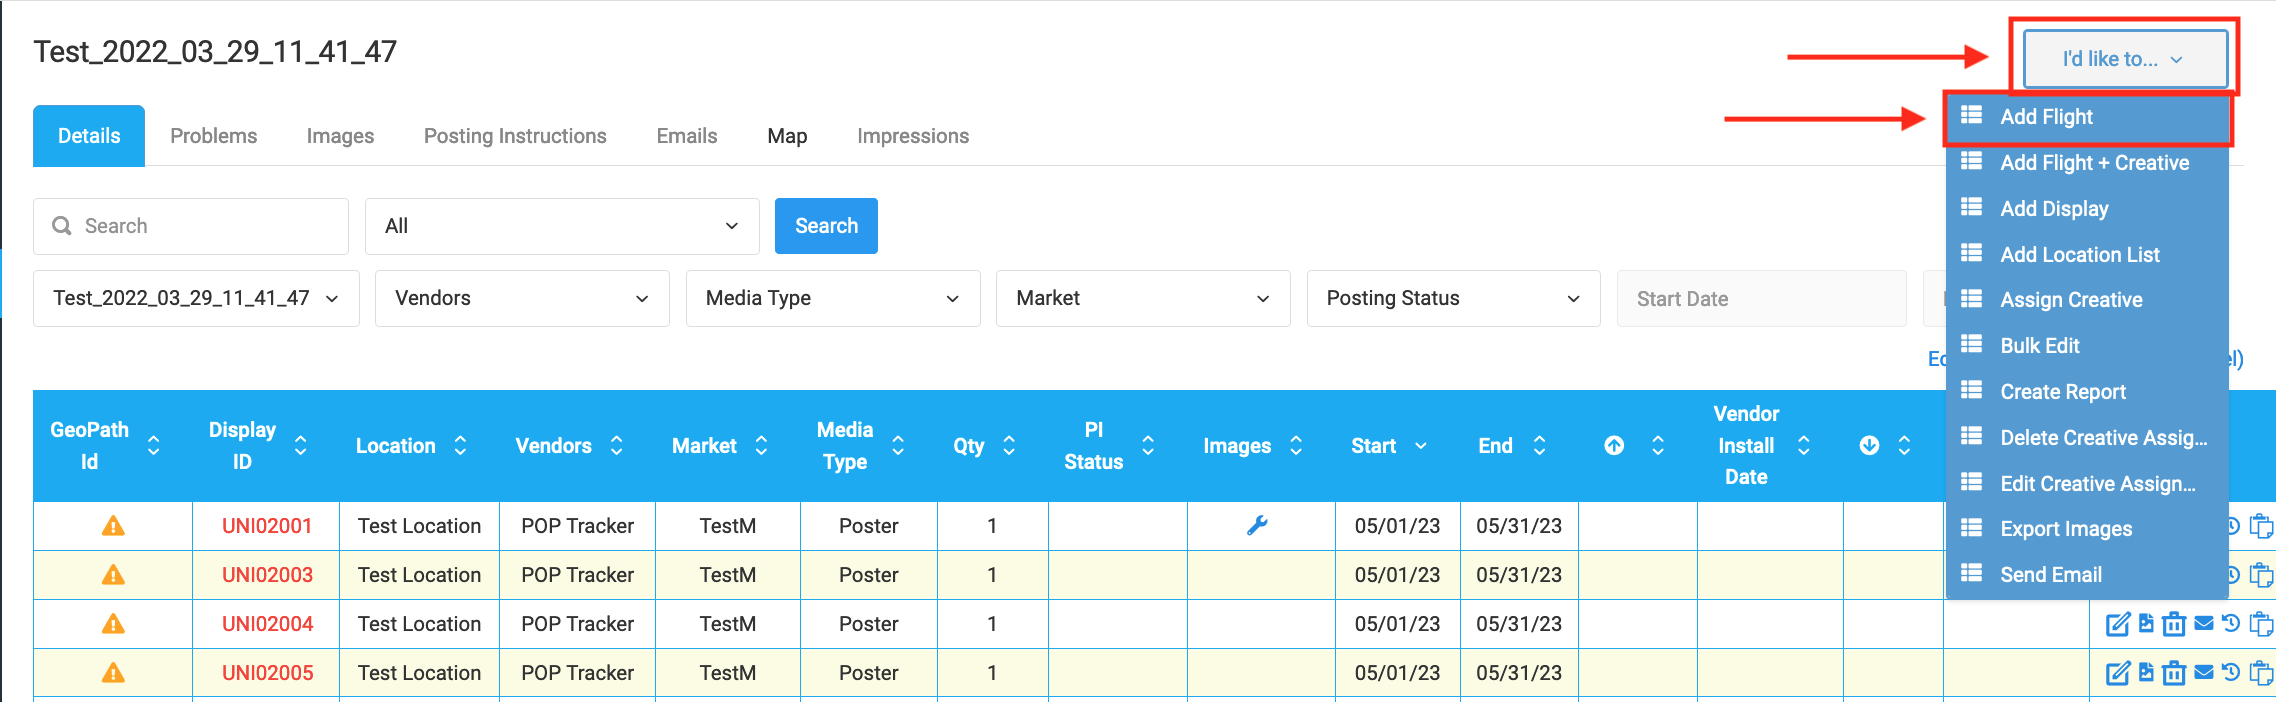
3) In the top right corner of the screen there is a tab that says "I'd like to..." which when selected, displays a drop down menu. The first option reads "Add Flight" which is the one you'll want to select.
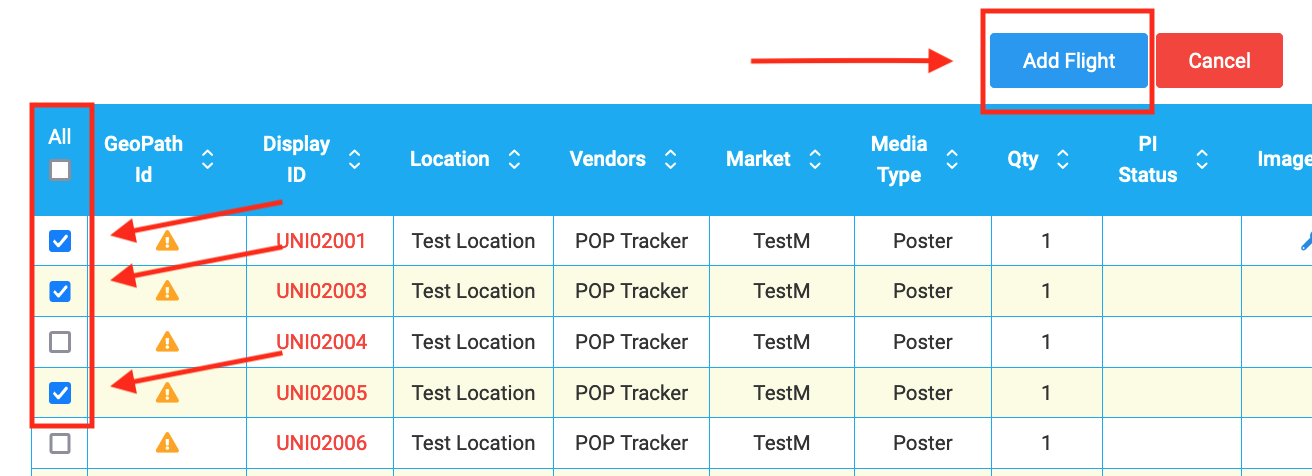
4) Next, you'll select all of the line items you wish to assign the new flight to. If you want to send include all of them, there is a button on the left hand side of the column at the top that says "All", and you'll want to check that box.Once you've selected all the line items, select the blue button that says "Add Flight."
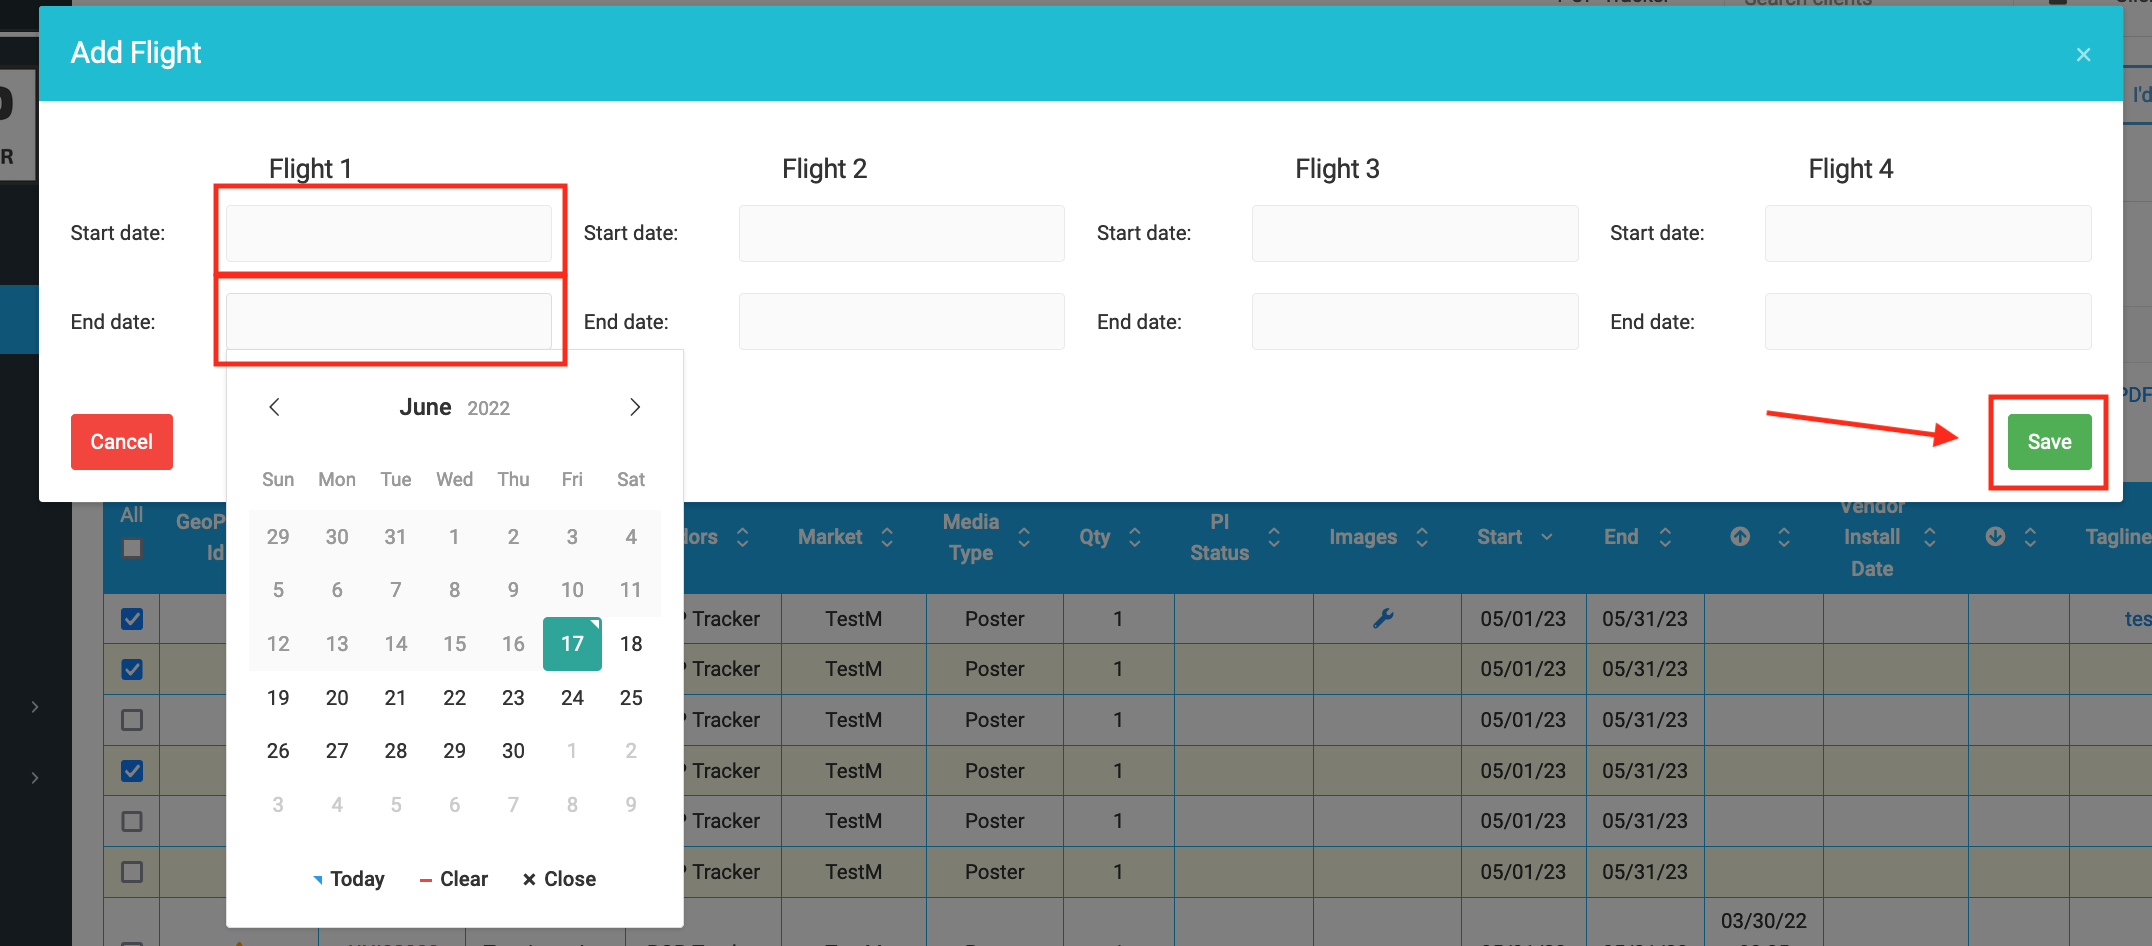
5) When the pop up screen appears, input the Start and End dates for the flights you wish to add. Each time you go through this process, you can add up to 4 different flight ranges. Once you've inputted all necessary information, hit Save and you're all set!
POP Tracker Support - support@mypoptracker.com